Digital signatures are crucial for the digitalisation of processes. They pave the way to a paperless company, enable the digital transformation of business models and eliminate the need to send contracts by post, which also saves time and money.
But how is a digital signature actually created and how complex is this process? It is important to understand what the digital signature process looks like in reality.
A digital signature does not have to have a graphic component
Many people imagine a digital signature to be an exact digital copy of their own handwritten signature, such as on the portable touchpads used by the post office when accepting a parcel.
However, a digital signature is not bound to this form and does not actually have to include a graphic component! It is therefore not necessary to “digitise” your own signature by hand on a touchpad, for example, and then have it verified.
On the contrary, solutions that are limited exclusively to this graphical part are generally not secure. Conversely, secure digital signatures can be completely secure and legally valid without a graphical component.
To understand this, it is important to bear in mind what makes a signature unique – whether digital or handwritten. A handwritten signature is secure because each person has a unique way of signing. For example, it is possible to tell whether a handwritten signature is forged simply by looking closely at the typeface.
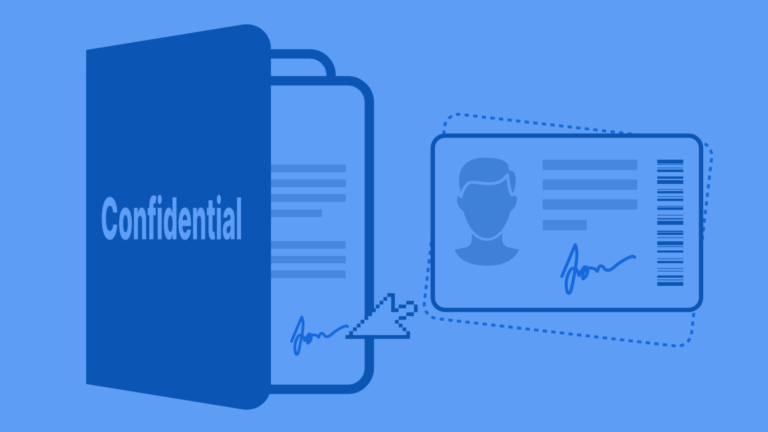
This is simply not necessary with digital signatures, as identity verification is done differently here, for example by comparing your ID card with a scan of your face. A successful comparison then also legitimises your digital signature in the eyes of the legislator – regardless of how it is graphically designed.
Verifying your identity with a digital signature can therefore be done completely digitally without you ever having to pick up a pen.
You do not need to take any special precautions for this either, as you can identify yourself during the process with a digital signature. Depending on the signature standard, an e-mail address, a telephone number and/or a camera and an identification document are required. The rest is done by the software of the respective eSignature provider.
Create a digital signature in just a few steps – a guide
We can explain how simple the process of creating an electronic signature is using Certifaction as an example:
- Create an account with Certifaction by clicking on the blue “Free trial” button at the top right of the website, then enter your e-mail address and a password and submit.
- Go to your e-mail programme and verify your e-mail address with a single click. Now enter some additional information about your account and you will land on the dashboard. You can initiate the digital signature process directly from here.
- Upload the PDF document that you would like to sign. You can simply drag and drop it into the field under “Sign a document”.
- In the next step, select which people should be invited to sign. You can make additional settings, such as a signing sequence if necessary. If you are the only signatory, you can complete the process directly.
- If you or other signatories also need to identify themselves, such as with a QES, this is done at this point. Identification only takes a few minutes and only needs to be carried out once every few months for each user.
- After identification, click on sign and you are done. The document is digitally signed with legal validity.
As you can see, the signature process only takes a few minutes and is completely digital. If you have already identified yourself, it even takes well under a minute.
The signatures are legally valid throughout the EU, Switzerland and most other countries in the world. Find out more on the linked page.